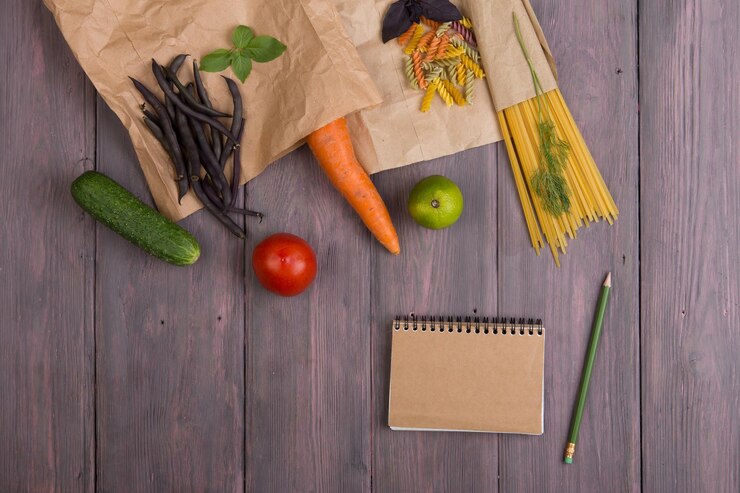


Baking has always felt like a warm hug from the kitchen. I still remember those cozy afternoons with flour-dusted countertops, the gentle hum of the oven, and the sweet scent of rising dough curling through the air. Turning simple pantry staples into golden, crusty loaves or buttery, flaky pastries felt like magic. But as I quickly discovered, baking is not just about heart and creativity—it is grounded in science.
The moment I understood how each ingredient works and how technique can shape the final outcome, my baking transformed. If you are stepping into the world of breads and pastries—or just looking to refine your approach—let me walk you through the insights and recipes that helped me turn mistakes into masterpieces.
Contents
Understanding Ingredients: The Foundation of Every Bake
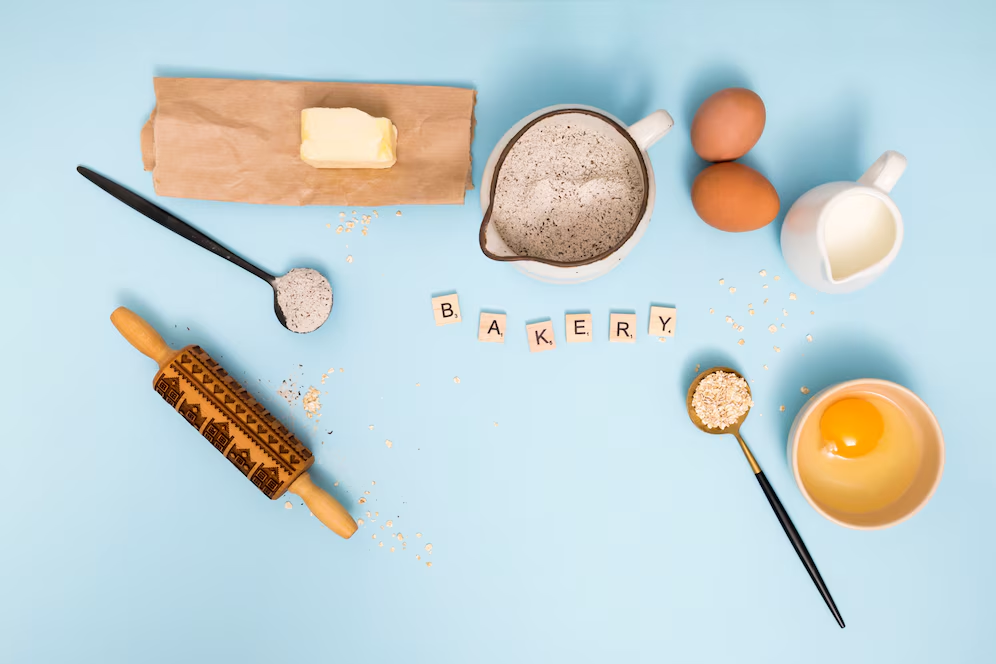
In the beginning, I underestimated ingredients. I thought all flour was the same until the day I swapped all-purpose flour for bread flour. That small change made my loaf stronger, chewier, and more structured. It was a game-changer. Why? Bread flour has more protein, which means more gluten development—the key to a good rise and satisfying texture.
Then there was yeast. I once used an old packet, unaware it had lost its potency. The result? A flat, dense loaf that never saw the rise it deserved. Fresh yeast made all the difference—alive, bubbly, and full of energy, it brought my dough to life. If there is one thing I always keep fresh now, it is yeast.
And sugar? Yes, it sweetens—but it also helps retain moisture and promotes browning. Brown sugar gave my cookies a deeper, richer flavor than granulated sugar ever could. It also made them wonderfully soft. As for fat, butter is the soul of a good pastry. High-quality butter adds depth and richness, turning a simple bite into something indulgent and unforgettable.
If you are serious about getting better, pay attention to your ingredients. Better inputs lead to better results. I often explore trusted sources like Baking Basics and Baker’s Authority for high-quality options and useful baking facts.
Baking Techniques: The Moves That Make It Work
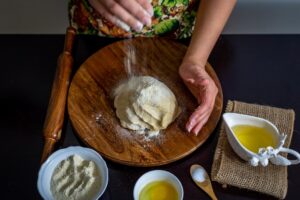
When I first started kneading, it felt like a chore. My arms ached, and I wondered if it was even necessary. But as I practiced, I began to feel the dough change under my hands—from sticky to elastic, from lifeless to alive. That transformation is gluten at work. Kneading is what gives bread its texture, its stretch, and its structure. Over time, I grew to love it.
Proofing was another revelation. The first time I left dough to rise in a warm corner, I could hardly believe how it puffed up like a cloud. Watching that happen was like witnessing dough breathe. I learned to be patient—let the yeast do its job, and it will reward you with a light, airy crumb.
One of the hardest lessons? Never skip preheating the oven. I did it once, and the loaf baked unevenly—crusty on the outside, undercooked on the inside. Preheating ensures your dough hits a stable, hot environment that encourages proper lift and caramelization. If things ever go wrong—burnt edges, flat centers, dense texture—it usually comes down to three factors: kneading, proofing, or oven temperature. Tweak those, and your next bake could be perfect.
When I run into trouble, I turn to the pros. King Arthur Baking has become my go-to for troubleshooting tips and technique breakdowns.
Classic Recipes That Never Fail
After plenty of experimenting (and a few flops), two recipes earned a permanent place in my kitchen: a rustic artisan bread and buttery croissants. They are simple enough for beginners yet satisfying enough to impress anyone lucky enough to try them.
Artisan Bread
This recipe is nearly foolproof and perfect for weekend baking.
Ingredients:
-
4 cups all-purpose flour
-
2 teaspoons salt
-
1 teaspoon instant yeast
-
2 cups warm water
Steps:
Combine flour, salt, and yeast in a large bowl. Slowly add warm water and mix until a shaggy dough forms. Cover the bowl and let the dough rest at room temperature for 12–18 hours. The next day, once bubbly and risen, gently turn it onto a floured surface and shape it into a ball. Let it rise for another hour.
Preheat your oven to 450°F (230°C). Place a Dutch oven inside to heat up. Once ready, carefully transfer the dough into the hot Dutch oven. Cover and bake for 30 minutes. Remove the lid and bake for another 15 minutes until the crust is golden and crackly.
Every time I pull this bread from the oven, I feel like a magician. The crackle of the crust, the tender crumb—it is pure joy.
Classic Croissants
Croissants were intimidating at first, but with patience and chill time (literally), they turned into a weekend favorite.
Ingredients:
-
3 cups all-purpose flour
-
1 tablespoon sugar
-
1 teaspoon salt
-
1 cup cold milk
-
1 packet active dry yeast
-
1½ sticks cold unsalted butter (for laminating)
Steps:
Mix flour, sugar, salt, milk, and yeast to form a dough. Chill it for 30 minutes. Roll out the dough and add thin slices of cold butter, folding the dough like a letter. Chill again. Repeat the rolling and folding process three times to create layers.
Cut the dough into triangles, roll into crescent shapes, and let them proof until puffy. Bake at 375°F (190°C) for about 20 minutes.
The smell of croissants baking is irresistible—and the flaky, buttery result is worth every step.
FAQs About Baking Bread and Pastries
1. Why did my bread not rise properly?
It could be due to expired or inactive yeast, a cold proofing environment, or under-kneading. Always use fresh yeast and proof in a warm place.
2. Can I use all-purpose flour for everything?
Yes, but different flours give different results. Bread flour adds chewiness, while pastry flour gives tenderness. Use them based on your goal.
3. What is the best way to store homemade bread?
Wrap it in a clean kitchen towel and store it in a bread box. Avoid plastic—it traps moisture and can lead to sogginess.
4. Why are my pastries not flaky?
Flakiness comes from cold butter and proper layering. Warm dough or overworked butter melts too early, ruining the layers.
5. Is it necessary to weigh ingredients?
Measuring by weight gives the most accurate results, especially for flour. A digital kitchen scale can seriously up your baking game.
6. How long should I proof my dough?
It depends on your recipe and room temperature. Dough should roughly double in size—this can take anywhere from 1 to 2 hours.
7. Can I bake without a stand mixer?
Absolutely. Many bakers knead by hand. It may take more time and effort, but it helps you connect with the dough and understand its texture.
Let your kitchen become your lab and your canvas. Baking is not just about getting it “right”—it is about learning, tweaking, and enjoying the process. Whether your croissants flop or your loaf turns out better than a bakery’s, each bake is a delicious step forward.